How to Make a DIY Wedding Veil at Home
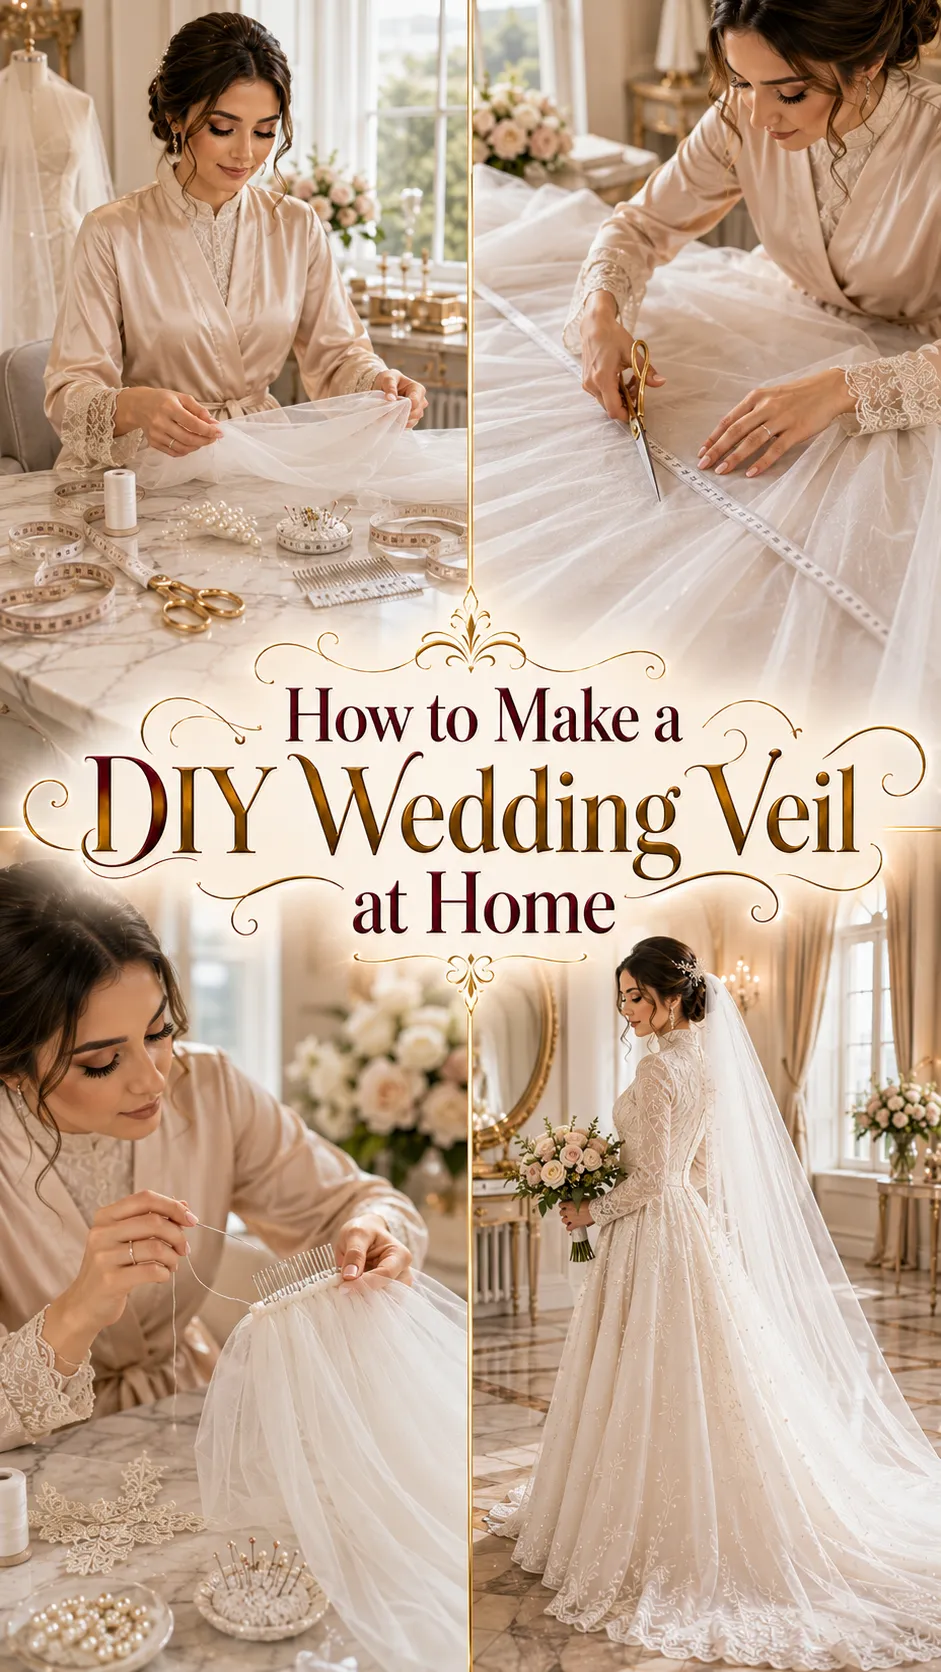
There is something incredibly special about making part of your wedding look yourself.
A veil may seem like one of those bridal accessories that should be professionally made, but it can actually be surprisingly simple to create at home. With the right fabric, a little patience, and a few basic supplies, you can make a veil that looks elegant, photographs beautifully, and feels completely personal.
And the best part?
You don’t have to make it complicated.
A simple cathedral veil, fingertip veil, shoulder-length veil, or delicate blusher can all start with the same basic idea: beautiful fabric + thoughtful shaping + secure attachment.
Whether you’re trying to save money, love DIY projects, or simply want a veil that feels different from anything in a bridal shop, this guide will walk you through the process.
Decide What Kind of Veil You Want
Before buying anything, decide how you want your finished veil to look.
The length will determine how much fabric you need and how much work is involved.
Popular options include:
- Shoulder-length: Simple, modern, and easy to manage.
- Elbow-length: Soft and romantic without feeling overly formal.
- Fingertip: Versatile and beautifully bridal.
- Knee-length: A little more dramatic while remaining practical.
- Chapel-length: Elegant with a graceful train.
- Cathedral-length: Dramatic, traditional, and perfect for a statement entrance.
If you’re making your first veil, a shorter style can be easier to handle.
But if you’ve always dreamed of walking down the aisle with a long cathedral veil flowing behind you, don’t let the extra fabric scare you.
The construction is still relatively straightforward.
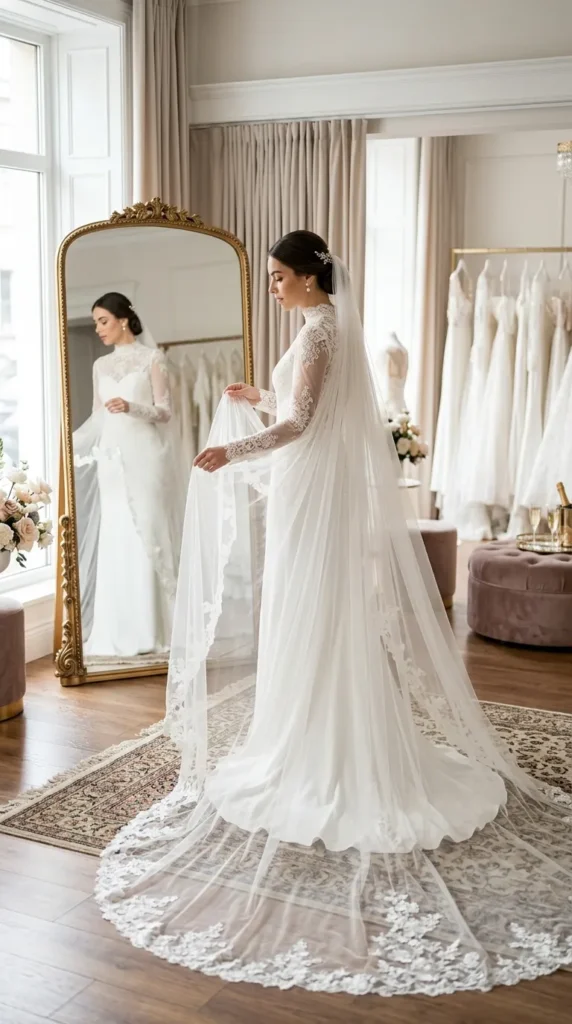
Gather Your Materials
You don’t need an enormous craft supply collection.
For a basic DIY wedding veil, you’ll typically need:
- Bridal tulle or illusion tulle.
- Sharp fabric scissors.
- Measuring tape.
- Sewing needle.
- Thread that closely matches the tulle.
- Hair comb or veil comb.
- Pins.
- Iron or steamer.
- Optional pearls, crystals, lace, ribbon, or embroidery.
Choose lightweight bridal tulle if you want a soft, flowing effect.
If you want the veil to hold more shape, look for a slightly stiffer tulle.
And don’t buy the fabric before deciding on your measurements.
That’s an easy way to end up with either far too much material or not enough.
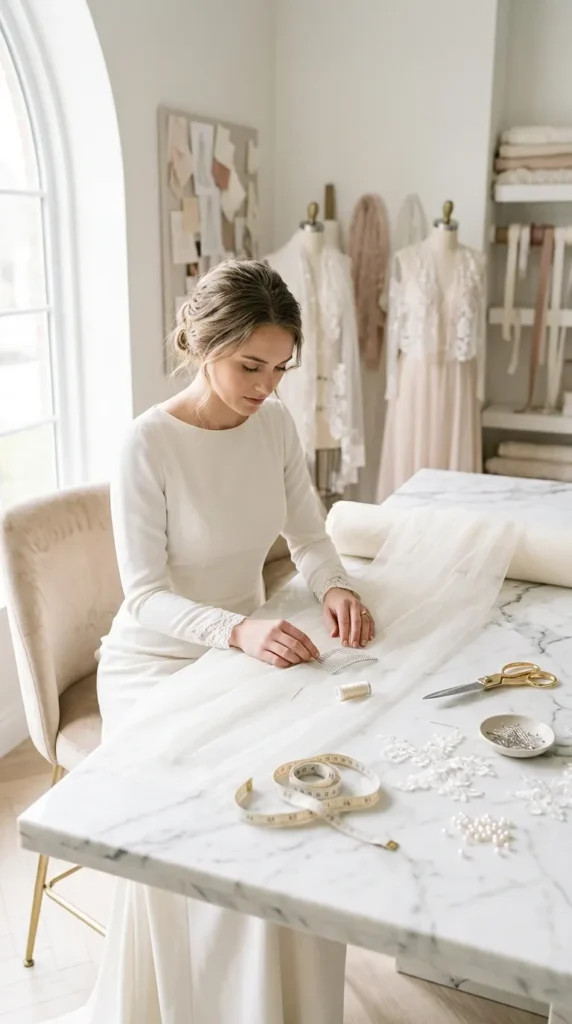
Measure the Veil Before Cutting
This is the part where patience really pays off.
Put on the hairstyle you expect to wear with your veil and decide where you want the attachment point.
Then measure from that point down to where you want the veil to finish.
For a dramatic train, remember that the veil needs additional length beyond the back of your dress.
Don’t simply measure from the top of your head to the floor.
Think about how the fabric will fall behind you.
A veil should look beautiful when you’re standing still and when you’re walking.
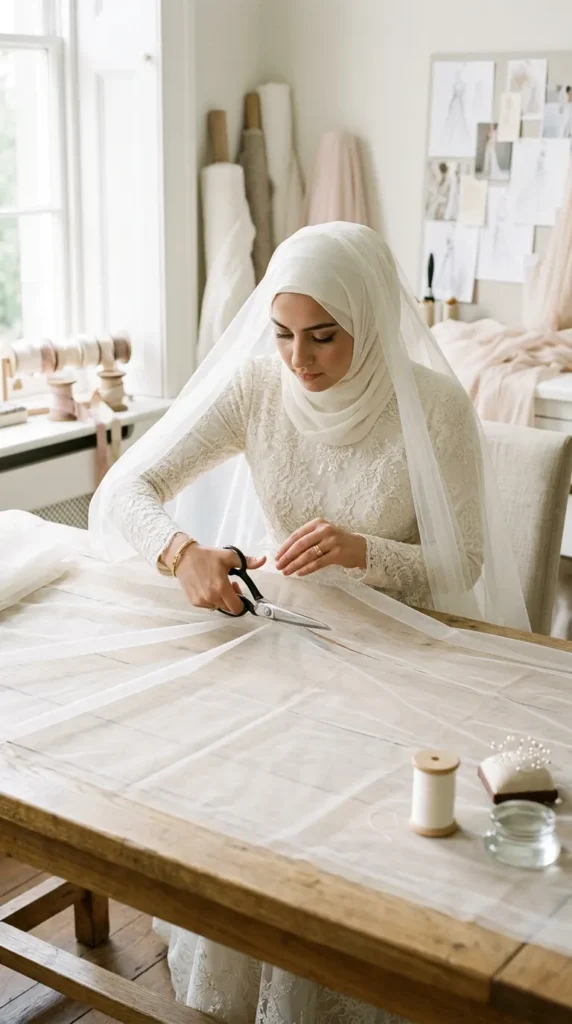
Cut the Tulle Carefully
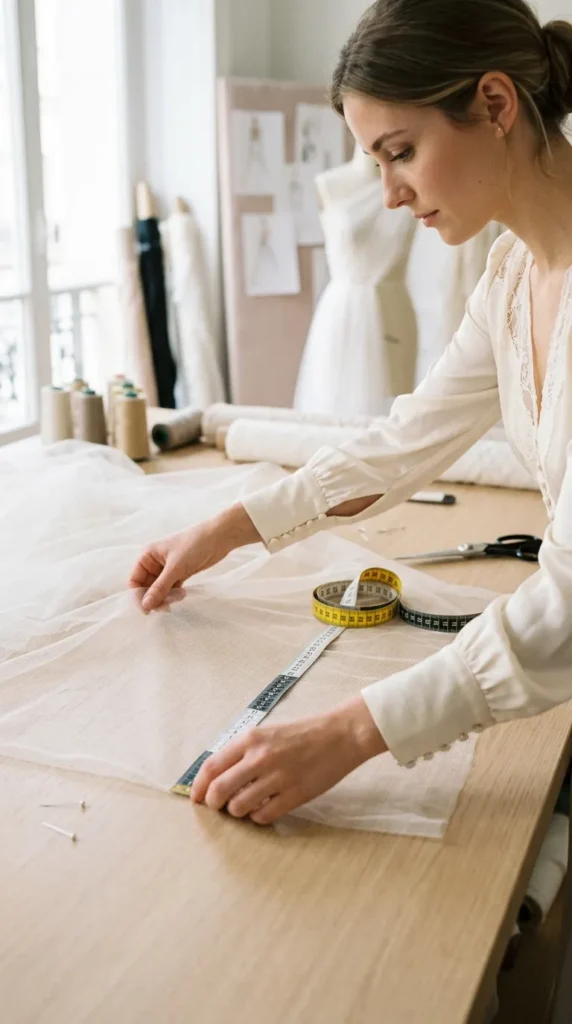
Once you’ve determined your dimensions, lay the tulle on a large, clean surface.
Smooth it completely before cutting.
Use a measuring tape and fabric markers or pins to create your cutting line.
Then cut slowly with sharp fabric scissors.
Don’t rush this part.
A slightly uneven cut can become very noticeable once the veil is attached to your hair.
If you’re nervous about cutting expensive tulle, practice first with an inexpensive piece of fabric.
It is much better to make your first cutting mistake on practice material than on your final veil.
Decide on the Veil Shape
Your veil doesn’t necessarily have to be a simple rectangle.
You can create different silhouettes depending on how you shape the fabric.
A gently rounded edge creates a soft, traditional appearance.
A more defined curve can feel polished and contemporary.
For a romantic look, a softly rounded veil is hard to beat.
For a minimalist bride, a clean raw edge can look surprisingly luxurious.
Think about your wedding dress here.
A heavily embellished gown may look beautiful with a simple veil shape.
A minimalist dress can handle a little more drama in the veil.

Create a Gathered Top
Once your fabric is cut, you’ll need to create the section that attaches to your head.
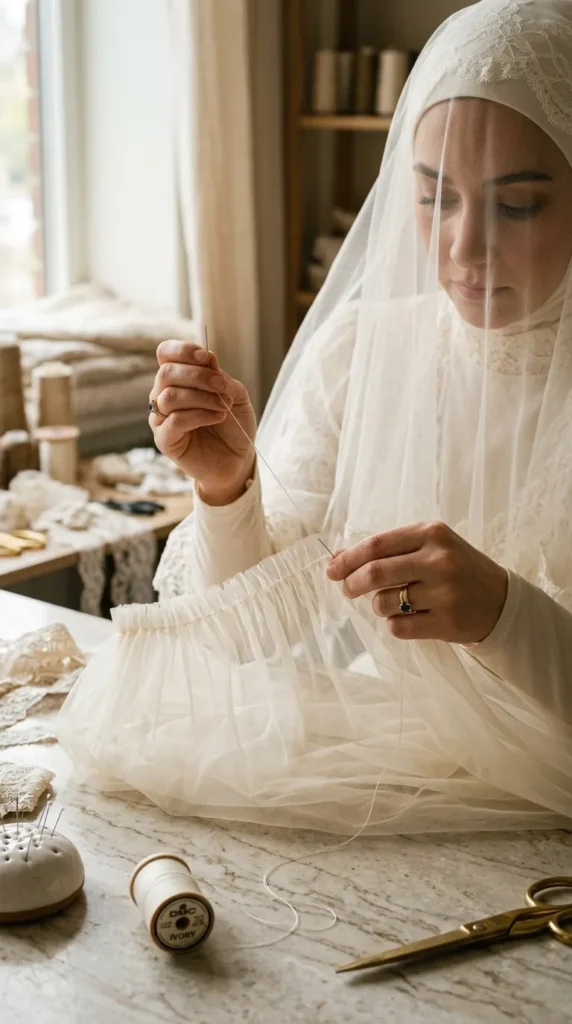
One common approach is gathering the top edge.
Use a needle and thread to create small, even stitches along the upper edge of the veil.
Then gently pull the thread to gather the fabric.
Don’t pull too aggressively.
You want soft, controlled gathers rather than tight bunching.
Keep adjusting the gathers until the width works comfortably with your chosen veil comb.
This is what gives many traditional veils their beautiful fullness.
Attach the Veil to a Comb
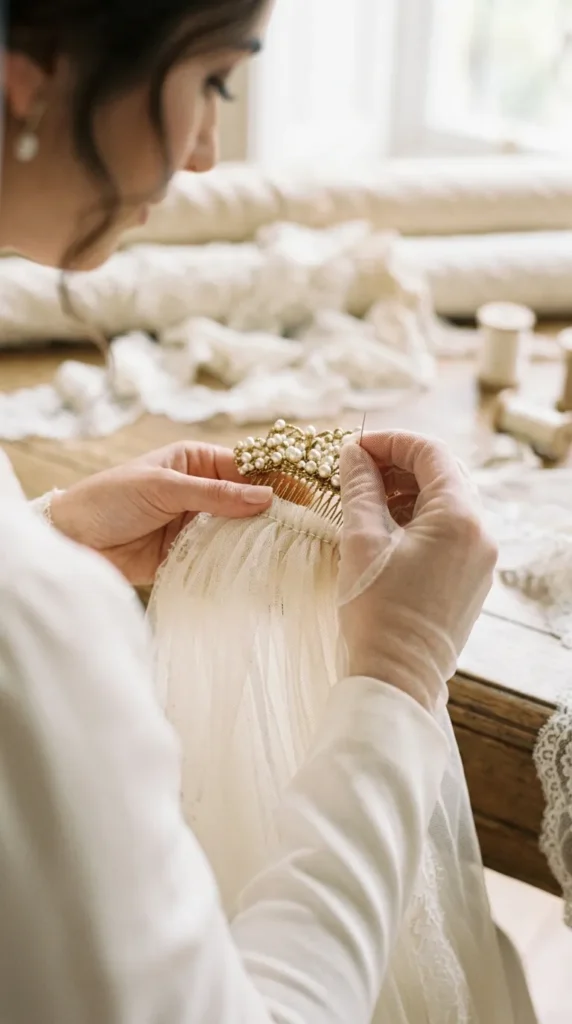
A veil comb gives your DIY creation an easy way to attach securely to your hairstyle.
Position the gathered edge along the comb.
Then hand-sew the veil carefully to the comb using small stitches.
Sew through the reinforced section rather than repeatedly stitching through delicate tulle.
Take your time.
You want the attachment to be strong enough to support the veil without damaging the fabric.
After sewing, gently tug the veil several times to test the connection.
If the fabric begins pulling away, reinforce the stitches before wearing it.
Add Lace for a Romantic Finish
Want something more detailed?
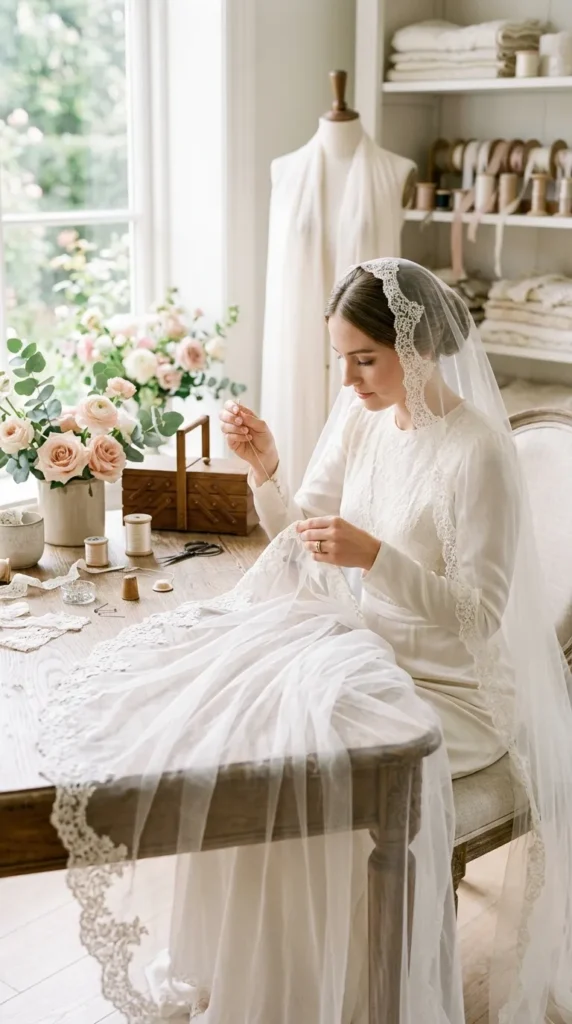
Lace can completely transform a simple veil.
You can add lace along:
- The entire outer edge.
- Just the bottom edge.
- The sides.
- One corner.
- Around the blusher section.
For a more contemporary look, use a narrow lace trim rather than covering the entire veil.
Secure it with tiny hand stitches.
Avoid using too much heavy trim on lightweight tulle because additional weight can affect how the veil hangs.
The goal is decoration—not turning your delicate veil into a curtain.
Add Pearls Without Going Overboard
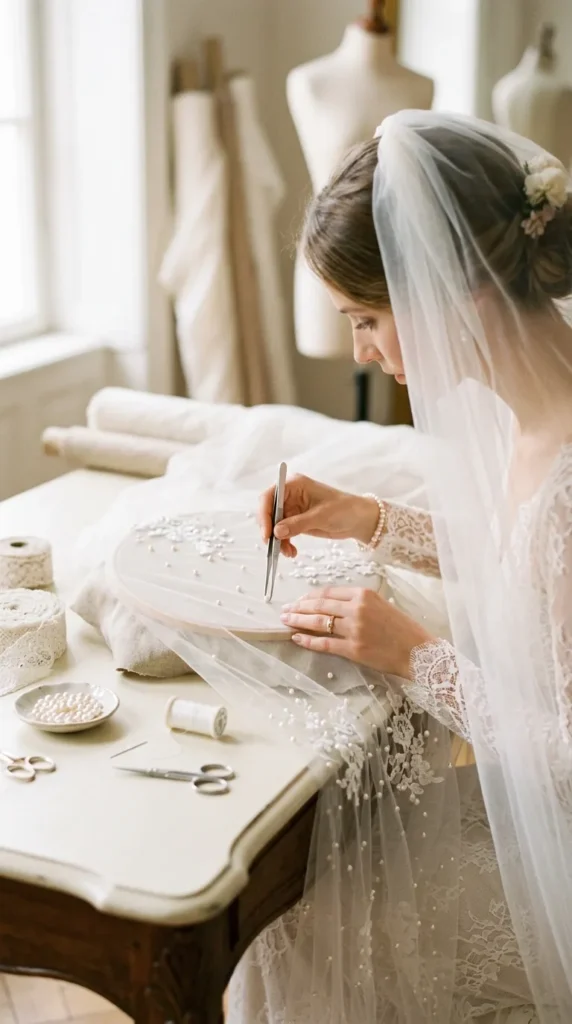
Pearls can give a DIY veil an incredibly luxurious finish.
Instead of covering the entire veil, try scattering small pearls throughout the fabric.
You can create:
- Random pearl placement.
- Evenly spaced pearls.
- A concentrated pearl design around the edge.
- Larger pearls near the bottom.
- Tiny pearls around the upper section.
Use lightweight embellishments.
A veil should still move naturally.
If the fabric becomes too heavy, the beautiful floating effect can disappear.
Try Subtle Sparkle
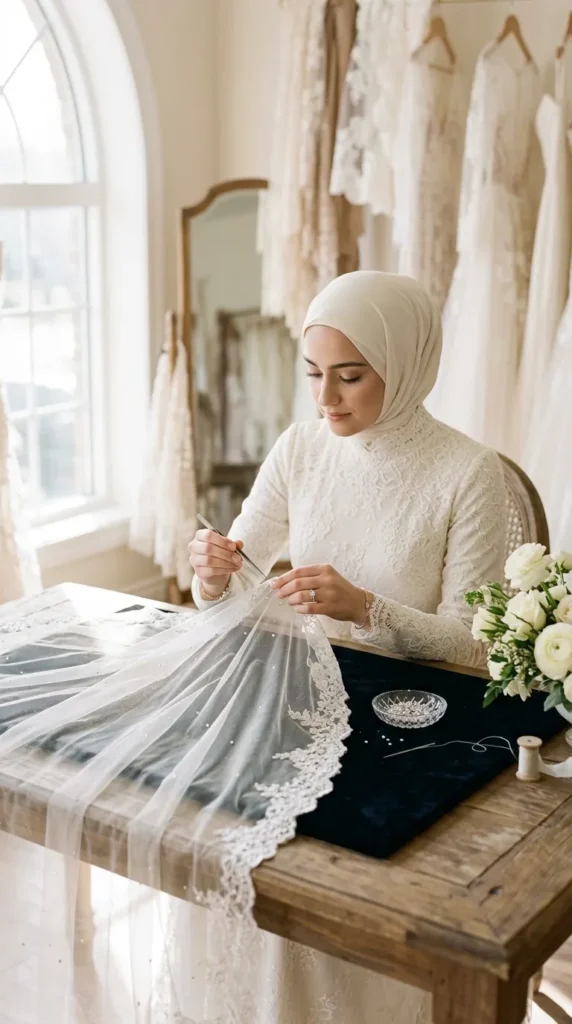
If pearls aren’t your style, crystals can create a delicate shimmer.
Small crystal embellishments can catch the light beautifully during photographs.
For a modern effect, keep the sparkle sparse.
Imagine tiny points of light appearing across the veil rather than an entire surface covered in glitter.
This works especially well for evening weddings where reception lighting can make the details sparkle.
Keep a Raw Edge for Modern Minimalism
You don’t have to decorate your veil at all.
A clean raw-edge veil can look incredibly sophisticated.
Pair it with:
- A sleek low bun.
- Minimal jewelry.
- A satin gown.
- Simple makeup.
- Clean bridal shoes.
The result is understated but still dramatic.
Sometimes the most expensive-looking veil is simply a beautiful piece of high-quality tulle cut and finished carefully.
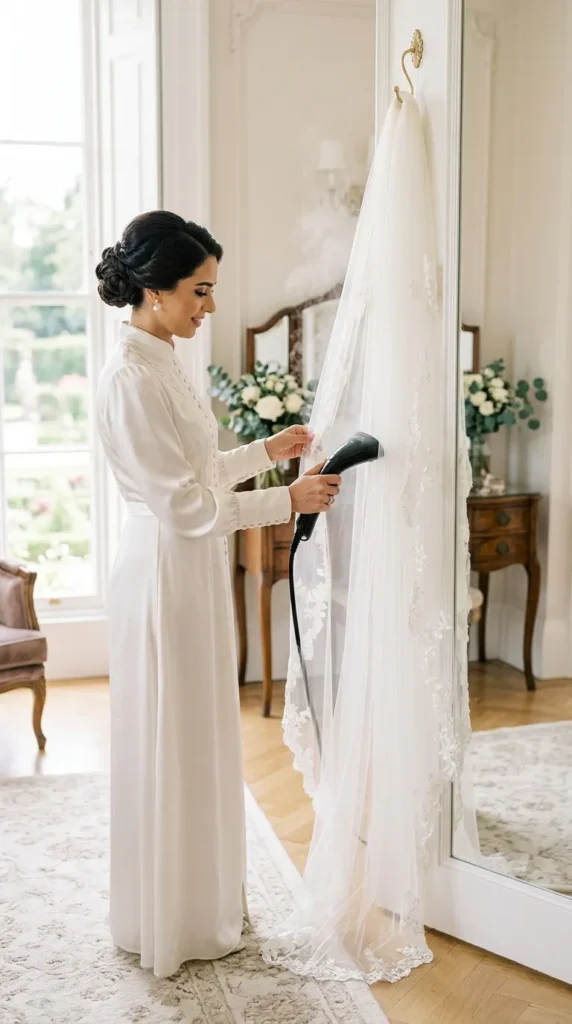
Steam the Veil Before the Wedding
Test It With Your Entire Bridal Look
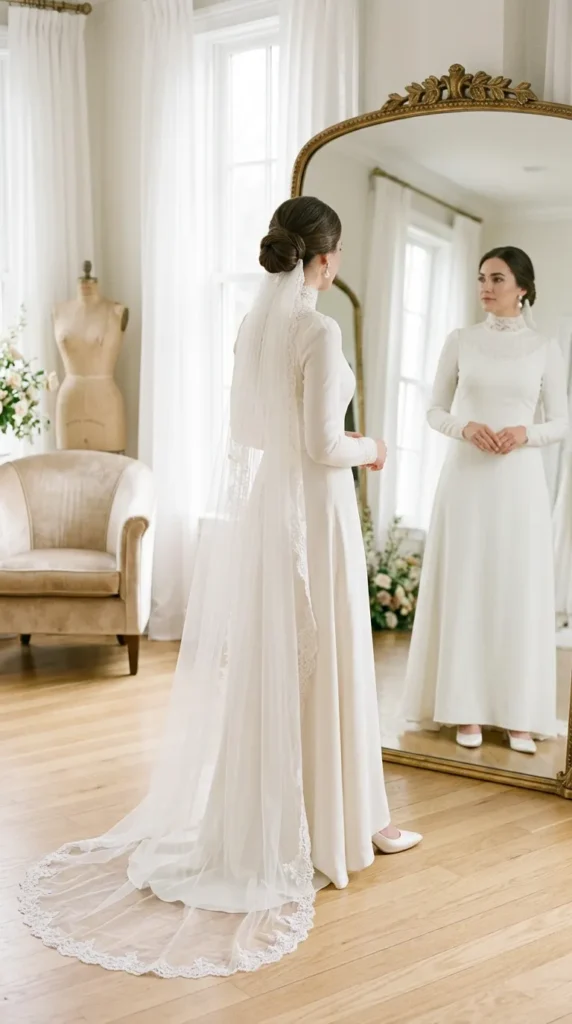
Don’t wait until your wedding morning to see whether your DIY veil works with your dress.
Try everything together.
Wear:
- Your wedding dress.
- Your planned hairstyle.
- Your veil.
- Your earrings.
- Your necklace, if applicable.
- Your wedding shoes.
Then take photographs.
Look at the veil from the front, side, and back.
Does it overwhelm your dress?
Does it disappear completely?
Is the length right?
Does the decoration compete with your jewelry?
These photographs can reveal details you might not notice in the mirror.
Practice Attaching It Securely
A beautiful handmade veil is useless if it keeps sliding backward.
Practice attaching it several times before the wedding.
If you’re using a comb, make sure your hairstyle provides enough structure for it to grip.
You may need discreet bobby pins or additional hairpins for extra security.
For a heavy chapel or cathedral veil, test the attachment while walking.
Move your head.
Sit down.
Stand up.
Turn around.
Walk several steps.
If it shifts during practice, reinforce it before the big day.
Conclusion
Making a DIY wedding veil at home doesn’t require professional sewing skills or an enormous crafting budget. With quality tulle, careful measurements, a few basic tools, and some patience, you can create a veil that looks beautifully personal and perfectly suited to your wedding dress.
Start by choosing the right length and silhouette, then cut the tulle carefully and create a secure gathered attachment. From there, you can keep the design minimalist with a clean raw edge or personalize it with lace, pearls, crystals, or meaningful details.
Most importantly, give yourself time to test everything before the wedding day.
Try your veil with your hairstyle and dress. Walk in it. Take photographs. Check the attachment. Make adjustments.
And don’t worry if your first attempt isn’t perfect.
The tiny handmade details are part of what makes a DIY wedding veil special.
Years from now, you won’t simply remember a piece of tulle.
You’ll remember that you made something beautiful with your own hands—and then wore it while walking toward the person you love.